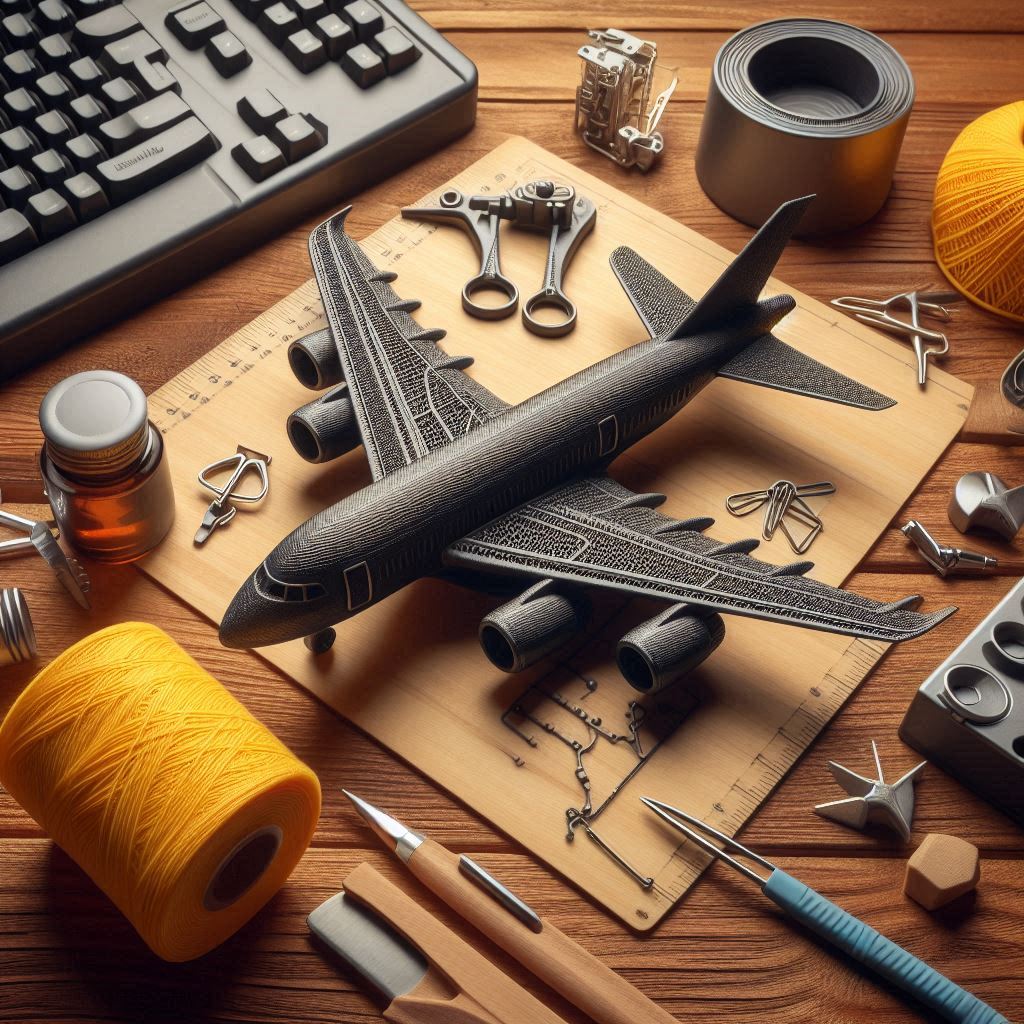
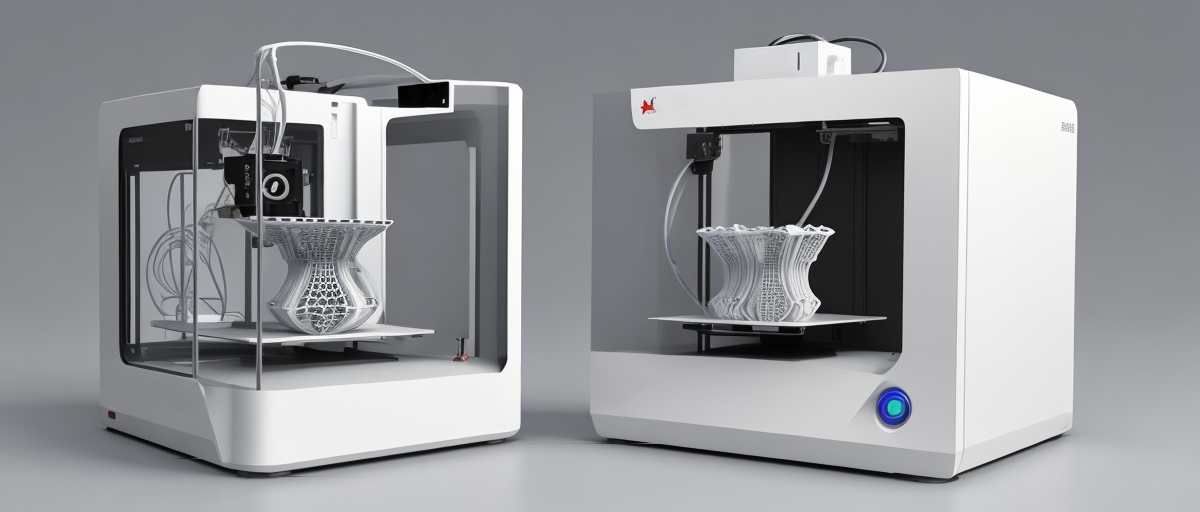
 3D printing has revolutionized the way we create and innovate, making it possible for individuals to bring complex designs to life right from the comfort of their homes. One fascinating project that 3D printing enthusiasts can undertake is designing and printing wings.
Materials You Will Need
Before diving into the design and printing process, it’s essential to gather all necessary materials.
The type of 3D printer you use matters a lot. For printing wings, a printer with a large build volume such as the Creality CR-10 or the Prusa i3 MK3S+ is ideal. These printers offer precise detail and ample space for larger prints.
PLA (Polylactic Acid) is a common filament choice for beginners due to its ease of use and minimal warping. For a more durable wing, you might consider PETG (Polyethylene Terephthalate Glycol) or ABS (Acrylonitrile Butadiene Styrene).
Software like Tinkercad, Fusion 360, or Blender will help you get started with your wing design. Each of these programs offers different levels of complexity suitable for various skill sets.
Cura or PrusaSlicer are excellent choices for converting your 3D model into a printable file. These programs make it easy to configure print settings and ensure your design prints correctly.
Once printing is complete, you’ll need tools for post-processing. Sandpaper, filler primer, and paint will help you get a smooth and aesthetically pleasing finish on your wings.
Depending on the complexity of your wing design, you may need screws, glue, or specific hinges to assemble different parts.
Software Recommendations for Designing Wings
Selecting the right design software can be daunting if you’re new to 3D modeling.
Tinkercad is an excellent option for beginners. It’s an online 3D design tool that’s easy to use and requires no installation. With its drag-and-drop interface, you can create basic shapes and combine them to form wings. Its simplicity will help you understand the fundamentals of 3D modeling without getting overwhelmed.
For those looking for more advanced features, Fusion 360 is a powerful CAD (Computer-Aided Design) software. It offers robust tools for creating detailed and functional designs. While it has a steeper learning curve compared to Tinkercad, Fusion 360 is great for designing intricate wing structures, especially if you need them to be aerodynamic or functional in a mechanical assembly.
Blender is another advanced option but leans more towards 3D artistry than engineering. It’s a flexible open-source software perfect for creating highly detailed and customizable wing designs. If your wings are part of a costume or a highly detailed model, Blender’s sculpting tools can give you the flexibility to add those intricate details.
How to Designing and Printing Wings
Start by sketching your wing design on paper. Think about the purpose of the wing—whether it’s for a model airplane, drone, costume, or artistic create. Identify key dimensions and consider how it will attach to the main structure or body. Your design should consider both aesthetic appearance and functionality.
Use your chosen design software to create a 3D model of the wing. Start with basic geometric shapes and refine them gradually. In Tinkercad, you’ll drag and drop shapes to form your wing, while in Fusion 360 or Blender, you’ll use more advanced tools different tools to sculpt and refine the design.
Wings, especially larger ones, may need internal structures or ribs to improve strength and stability. This is particularly important for functional wings such as those on a drone or model airplane. Use the design software to add these internal support structures, making sure they don’t add too much weight or interfere with the external design.
Once your design is complete, export the file in STL format, which is widely supported by 3D printers. Double-check the measurements to ensure the wing will fit in your printer’s build volume.
Open the STL file in your slicing software. Here, you’ll set the print parameters, such as layer height, infill density, and print speed. Higher infill densities will make your wing stronger but take longer to print. If you’re new to 3D printing, start with standard settings recommended by the slicer.
Transfer the sliced file to your 3D printer and begin the printing process. Depending on the size and complexity of the wing, this could take several hours to a couple of days. Keep an eye on the print’s progress to catch any issues early.
Troubleshooting Tips for Successful Prints
- Warping can be an issue, especially with larger prints. Use a heated bed and apply an adhesive like glue stick or hairspray to improve bed adhesion.
- If layers shift, the problem could be with the printer’s belts or stepper motors. Check that everything is properly tightened and secure.
- If the print has a lot of stringing between parts, adjust the retraction settings in your slicer software.
- This occurs when the printer isn’t extruding enough filament, resulting in weak prints. Check for clogs in the nozzle and ensure the filament is feeding smoothly.
- Certain materials, like PLA, can overheat and cause print imperfections. Use adequate cooling fans and reduce the printing temperature if necessary.
Post-Processing Your Wing
Once your wing has finished printing, carefully remove it from the build plate. Sanding the surface with fine-grit sandpaper can help smoothen any rough areas. Apply filler primer to fill in small gaps or imperfections, and then sand again if needed. Finally, paint the wing in your desired colors to give it a polished and professional look.
Assembly and Testing
If your wing is part of a larger assembly, follow your original design plan to attach it securely. Use screws, glue, or whatever fasteners are appropriate for your materials and structure. If the wing is functional—as in for a model airplane or drone—perform a test flight to ensure stability and performance. Adjust the design and reprint if necessary to improve functionality.

